Yesterday, we got an email from one of our users and he was asking “how to add image variation swatches in WordPress products”? So, we decided to write a blog post on that topic so that, anyone who is looking for it, can easily do themself with the help of this blog post.
Instead of doing custom development, we will introduce a good and recommended plugin. So, let’s get started.
This post is going to show you adding image variations in WooCommerce product attributes. To make your product attractive use WooCommerce variations swatches plugin. With this plugin, you can add variations in a beautiful and appealing way.
After installing and activating this plugin, it will replace the default WooCommerce product dropdown variations and enable multiple options for image, size, color, label, etc.
Step 1
Install and Customize Image Variations Swatches for WooCommmerce Plugin
Variation Swatches for WooCommerce plugin is free and available in the WordPress repository. You need to install and activate this plugin first.
- From your WordPress dashboard go to Plugins
- Click on Add New
- Search Variations Swatches for WooCommmerce
- Click on Install and then Activate

Now, the plugin is successfully installed and activated.
Step 2
After the plugin gets activated, you need to add the attributes.
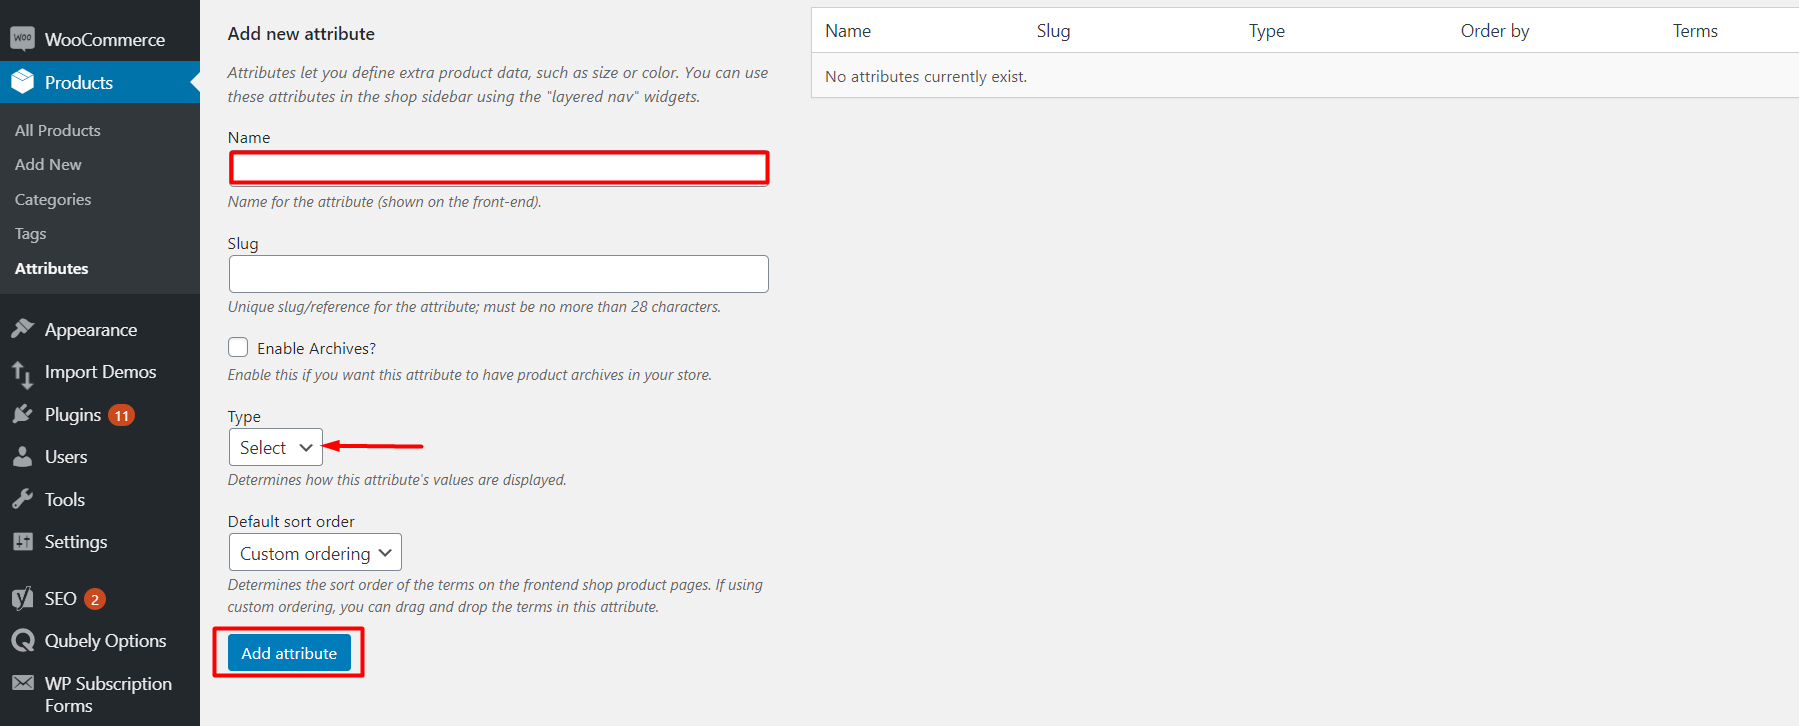
- From Products tab on your admin dashboard, go to Attributes
- Name the Attribute
- Select type Image( If you don’t want to add the image, you can go with color or button)
- Finally, click on Add Attributes to add it.
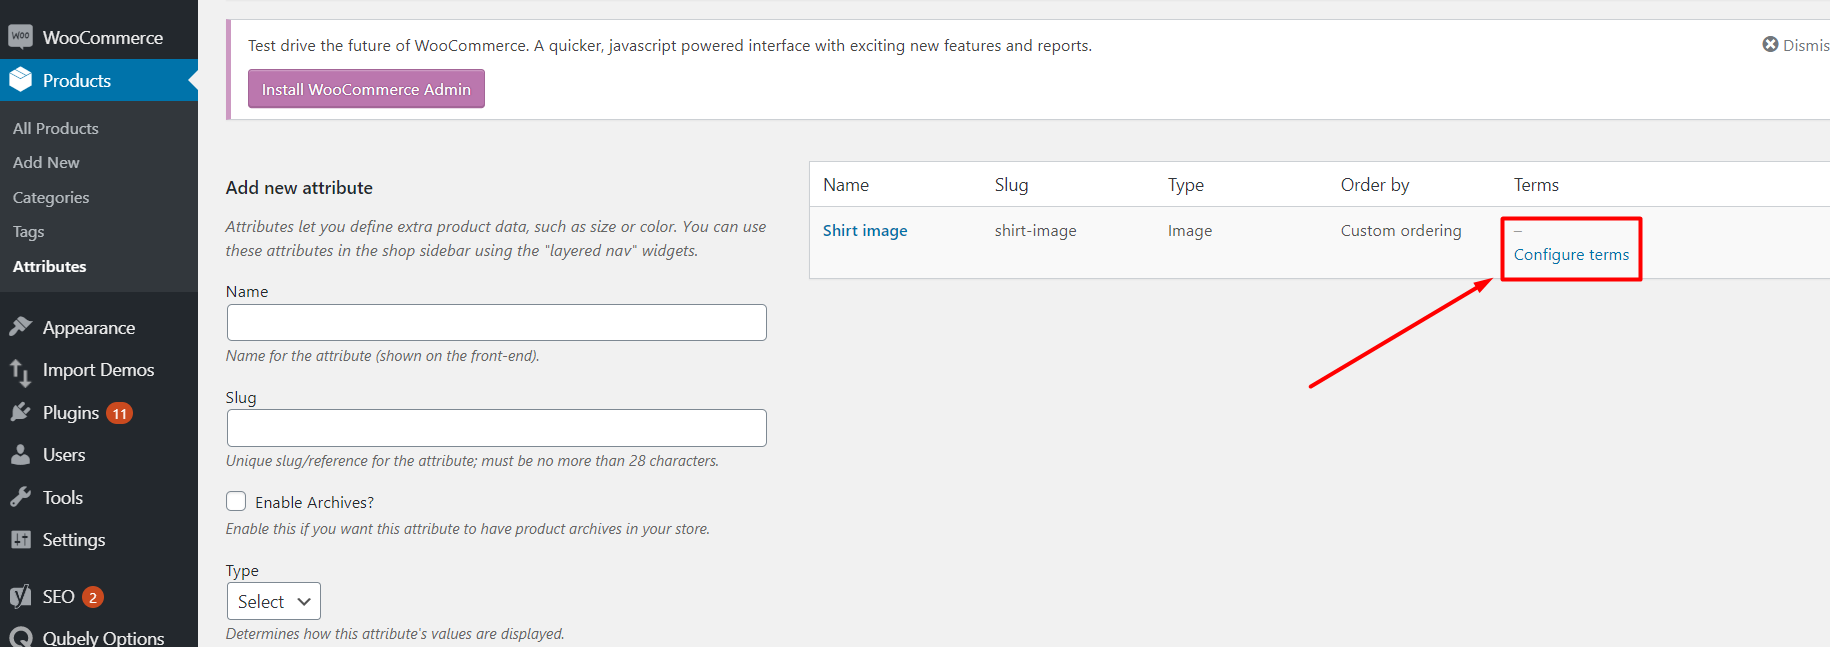
Once after you added the attributes, click on Configure terms from the attributes list to create product variations. Next, After clicking on “Configure Terms” you can add as many sizes or edit, delete the old terms.
Step 3
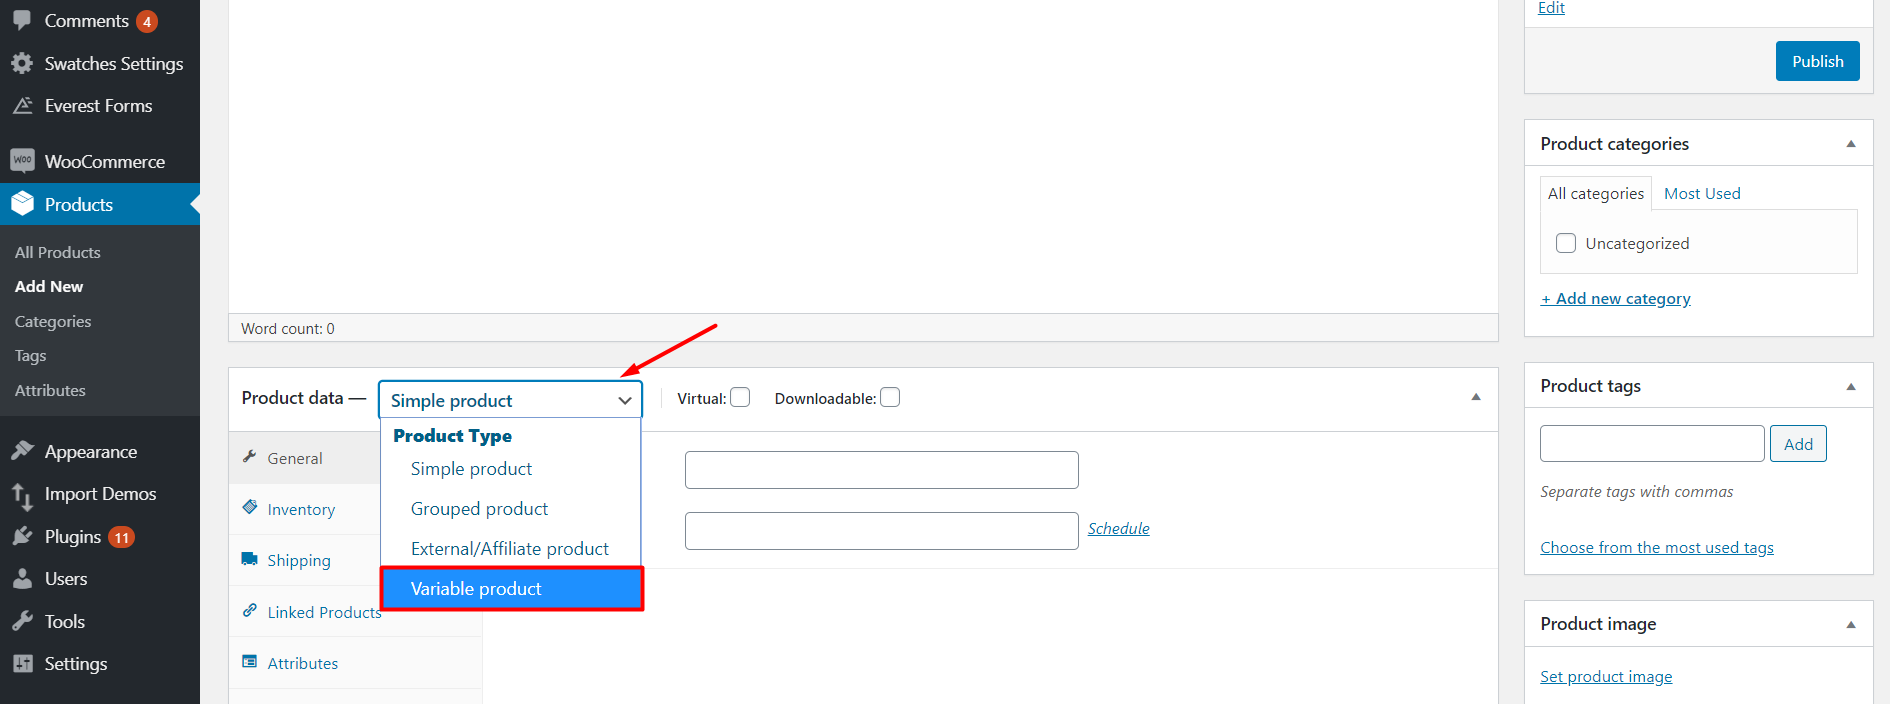
Once all the sizes are added, now we will need to create a variable product. To add the variable product go to Products > Add New on the admin dashboard. After that, add the product name, its description and Change the product data to “Variable Product”.
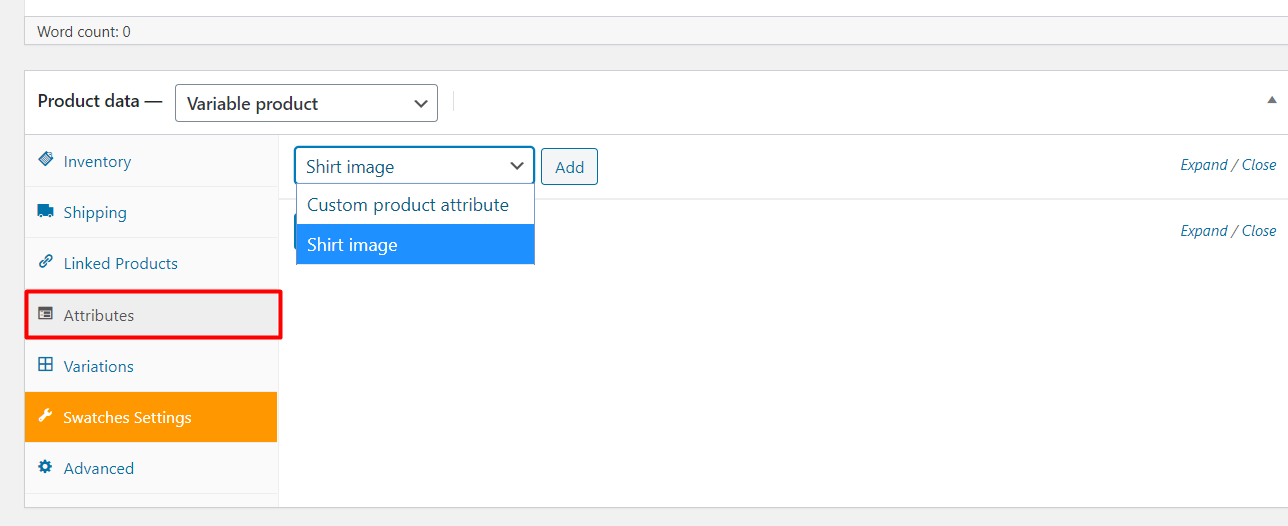
Next, Click on Attributes and then select “SIZE” as this is the attribute we created and we are adding its variations and price and click on the “Add” button.
After that, Select the sizes for the product, Check “Used for Variations” and then click on “Save Attributes”.
After that click on “Variations” and then Select “Create Variations from all attributes” and then click on the “Go” button. The screenshot is attached to the next page.
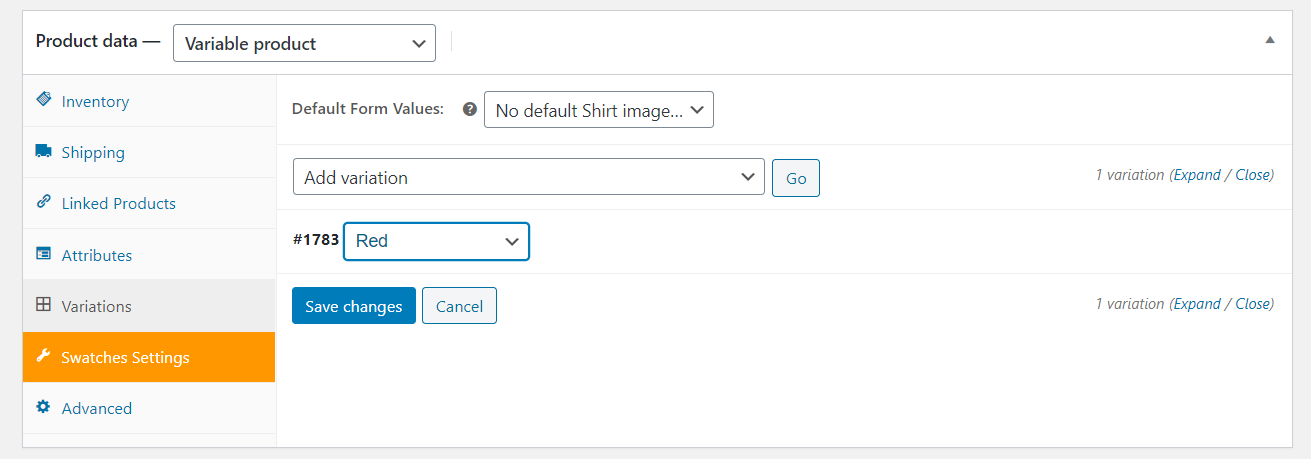
Once the go button is clicked the variations will be added. But the price for the product for each variation hasn’t been added yet. So we will need to add the price. For that click on the expand icon.
After that add the price for that variation. Also, do the same for all the variations. Once all the variations and prices are added click on the “Save Changes” button below.
Now we have completed adding product and its variations and price for each variation so we are ready to publish this post. For that click on the “Publish” icon on the top right.
Conclusion
We believe that you are now successful to add the image variation swatches in WooCommerce Product. If you have any confusion, please comment us below. We love to provide you the support that you need while using this plugin.
This plugin is perfectly suited for all the WooCommerce themes. So, you don’t need to worry about which WooCommerce theme you are using.
Happy Selling 🙂


